“Ugh. Flatlay photography is sooo hard!”
Sound familiar?
You want to add flatlays to your content mix, but each time you try, you can’t seem to get it right.
You feel like your flatlays always look more like a toddlers mess than an aesthetically pleasing arrangement that Pinterest would approve of.
Whether you’re creating flatlays for your Instagram posts or Facebook Ads, by the time you’re finished reading this post, you’re going to know how to design and shoot flatlays that look like they belong in a magazine.

Let’s dive in!
How to Create the Perfect Flatlay Photography for Your Socials
Flatlay Tip 1: Hop onto Pinterest and create a moodboard

When it’s your first time creating a flatlay, it can be OVERWHELMING.
You need to find props, think about composition and worry about your colour palette.
The best way to defeat this overwhelm? Pinterest!
Head on over to the world’s #1 visual search engine and create a mood board.
Search things like:
• Flatlay ideas.
• Clothes flatlay
• Travel flatlay
• Simple flatlay
Whatever it is you’re trying to achieve with your photo, save your favourites and use it as a source of inspiration for your shoot
Tip: Look for patterns like colours, lighting or the way things are displayed
Flatlay Tip 2: Find a flat surface

The quickest way to ruin your flatlay photography is with a bumpy surface.
When planning out your shot, look for flat surfaces like:
• Coffee table
• Desk
• Bed
• Floor
It will make it that much easier to arrange your objects and look aesthetically pleasing to the eye
Flatlay Tip 3: Keep your background neutral

No matter what surface you end up using, you need to make sure the background is plain and doesn’t have any distracting patterns or textures
Some of the go-to backdrops for flatlay photography are:
• Wood
• Concrete
• Marble
• Plain white background
You can often find contact sheets and faux backgrounds with these textures at your local hardware store for just a few dollars.
Don’t be afraid to use layers in your composition to add dimension to your photo.
By adding things like:
• Different sized plates
• A linen cloth
• Crinkle paper
• Different textures
Your background becomes more interesting to the viewer and allows you to tell a story visually.
Just don’t go too crazy! When in doubt, keep things simple.
Tip: Always keep an eye out for intriguing tables, surfaces, and tiles!

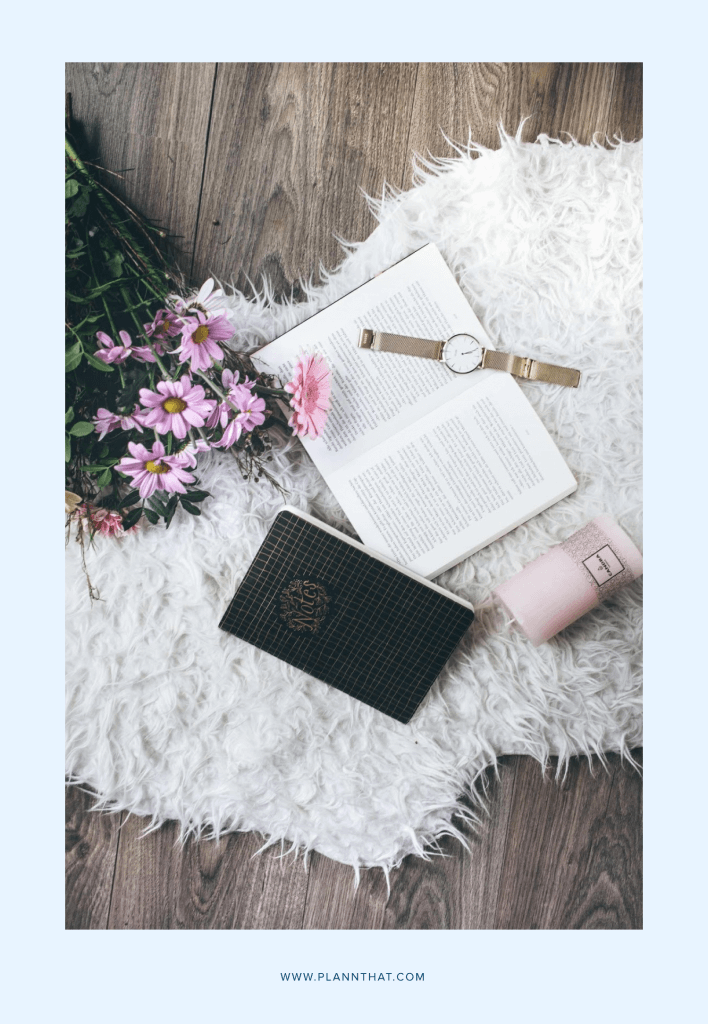
Flatlay Tip 4: Arrange Your Objects
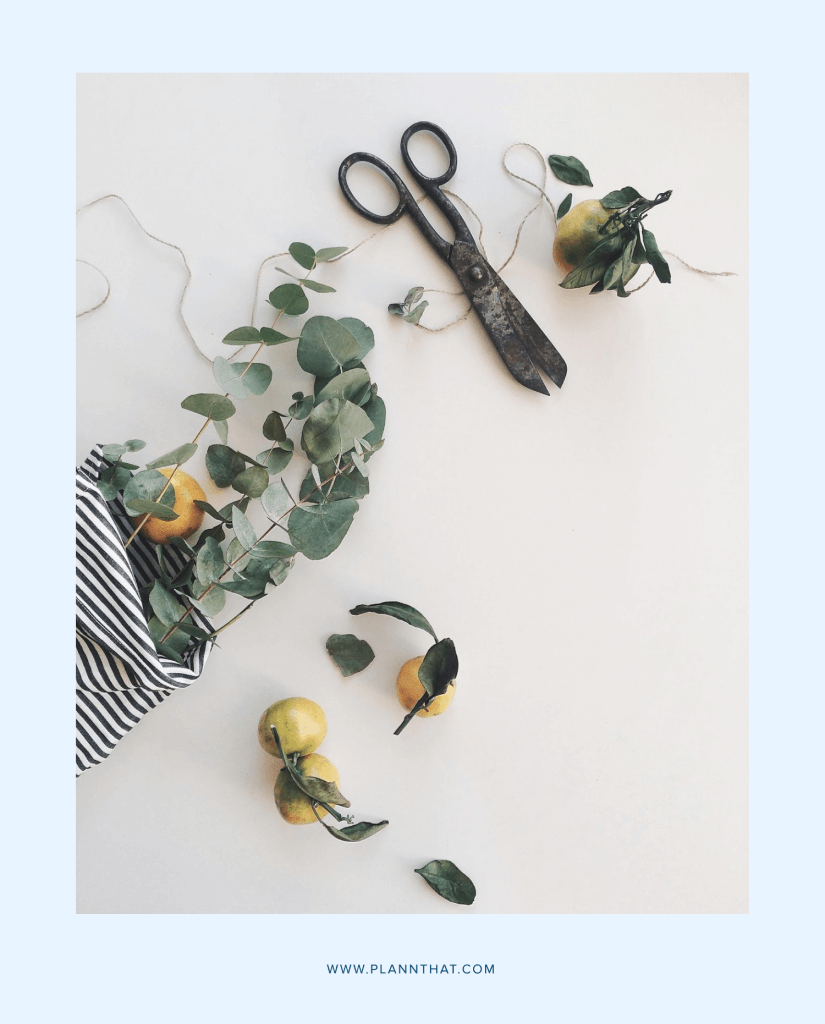
The secret sauce of a perfect flatlay? Composition.
It’s what is going to make or break your picture. Spend time arranging your objects, adding textures, removing items until you’re happy.
Tips for arranging your objects in your flatlay:
• Don’t put everything in the centre of the image. Allow things to overflow and create intrigue
• Use the rule of thirds, S-curve or arrange the items in a grid or straight line
• Collect related props and experiment until you find a balance you like
• Have a colour palette in mind to tie everything together
• Leave space between each object to stop your shot from looking too cluttered
• Create balance in your photo by mixing smaller and larger objects
• Leave space for text and graphics if needed
Flatlay Tip 5: Use natural light

When it comes to photography, nothing beats good ‘old fashioned natural light.
The best time to shoot your flatlays is in the early morning or late afternoon when the light is soft. If you shoot at noon, the sun will create unflattering and harsh shadows in your images.
It’s also a good idea to shoot next to a window. The glass helps to diffuse the sun and create softer light and shadows on your objects.
Another thing you need to be aware of when shooting is your own shadow. You want to make sure you’re not obscuring your objects and interfering with the light.
Lastly, make sure your focal object is getting enough light. You want the viewer’s eye to gravitate towards it automatically. If it’s cast in dark shadow, it will lose that effect.
Tip: If you need more light, use foam boards to act as reflectors to bounce the light onto the shadows.
Flatlay Tip 6: Think about the size and frame of your shot
Are you creating a flatlay for Instagram or a Facebook event cover?
When taking your photo, you need to think about how you’ll end up cropping the image.
Keeping this in mind will help you create a better composition and help you figure out where things will spill out of frame.
Tip: Turn on grid view on your iPhone or DSLR camera. It will help you instantly compose better shots and see how each object fits in the frame.
Read More: The Perfect Instagram Story Dimensions to Use in 2020
Flatlay Tip 7: Get high! (no, not literally)

• Natural light? Check
• Props? Check
• Intriguing composition? Check
Now it’s time to start taking your photos! The best way to capture a flatlay is to take the image from an angle that’s parallel to the surface.
To do this, you need to get directly above your subject by using a tripod, standing on a chair or a table.
Tip: If your camera doesn’t have built-in stabilisation, invest in a tripod that will help keep your shots sharp and crisp.
Read More: 10+ Best Picture Editing Apps for Absolutely Stunning Photos
Bask in the glory of your flatlay skills
Once you’re happy with your photos, upload your shots to Plann and schedule them into your posting schedule.
