TikTok is an amazing tool when it comes to building your social media empire! The app is a hub for trends and traffic.
TikTok offers great native content creation tools, meaning that you can create new and engaging TikTok videos without leaving the app. From frame transitions to text captions, background sounds, visual filters, and so much more, TikTok really does have everything you need to become a master video creator.
For some users, getting started on TikTok can be a bit of a challenge. With so many in-app video editing tools and features, it’s easy to become overwhelmed. How can you use TikTok tools to create the best-quality videos?
Luckily, the team at Plann are here to help! We’ve spent many hours mastering the social media scroll, and we understand what it takes to make great TikTok videos. Here’s everything you need to know about how to edit videos on TikTok!
The basics of TikTok video editing
Before you start creating TikTok videos, it’s important that you understand the value of TikTok video production. There are so many benefits to consider!
Using native TikTok video editing tools, you can achieve well-produced video content easily. The TikTok app offers its own systems for just about every video effect you’ll need. You can cut and splice videos and execute smooth frame transitions. You can add text, from captions to special text features. You can even use filters to alter color quality and visual appearance!
When you know how to edit on TikTok, you can cut down your video creation time and start producing better content than ever before.
How to edit TikTok videos on the app
To get started with TikTok video editing, you’ll need to know how to use a few key editing tools and features. These skills will help you no matter what kind of TikTok videos you produce.
Let’s get started!
Filming and uploading TikTok videos
First, you have to consider how your video content is making its way to the TikTok app! On TikTok, you have two main options for this:
1. You can film video footage directly in the TikTok app.
2. You can film using your phone’s camera, and then upload footage to TikTok.

Both of these options can work well, but when possible, we recommend filming directly on TikTok. This way, you can access more video editing features, and it will be easier to sync and line up content.
If you’re filming on TikTok, there are a few tips you should keep in mind.
First, choose your sound ahead of time! This makes it easier to line up audio. Second, use the TikTok countdown timer, available from the features list on the right side of your screen. This allows you to film hands-free! Finally, choose and apply any filters or visual effects (more on these later) before you begin filming.
When filming in the TikTok app, you can move immediately from filming to editing. If you’re uploading your video content from an external source, you can do this by creating a new video project and clicking the photo icon at the bottom left of your screen.
Adding transitions
Smooth transitions are a big part of TikTok video creation! These allow you to switch between different clips purposefully. Luckily, the app makes transitions easy for even novice video editors to apply.
Jump cuts are a great way to introduce transitions if you’re still new to TikTok video editing. These allow you to place one clip after another without any extra effects appearing between them.
The best way to execute a smooth jump cut is by trimming your videos so that the subject appears in the same place at the end of one clip and the beginning of the next. You can also time your filming to align well, using clicks, claps, jumps, camera covers, or something else to signal each new transition.
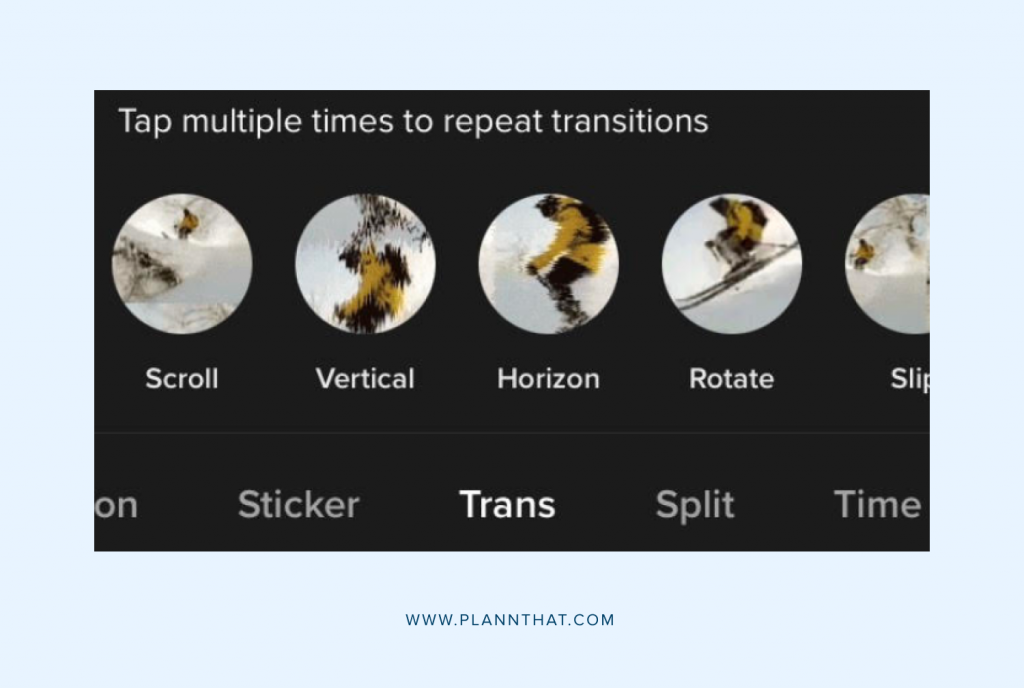
Alternatively, if jump cuts aren’t for you, you can add transition special effects after you’ve recorded or uploaded all the video clips you want to use for your TikTok video.
All you need to do is select effects at the right of your screen, choose a transition from the menu, and choose a transition effect that suits your creative goals. Simple!
Turning on auto-generated captions
Auto-generated captions are another amazing TikTok feature, allowing you to reduce your editing time while providing audiences with multiple ways to access your content.
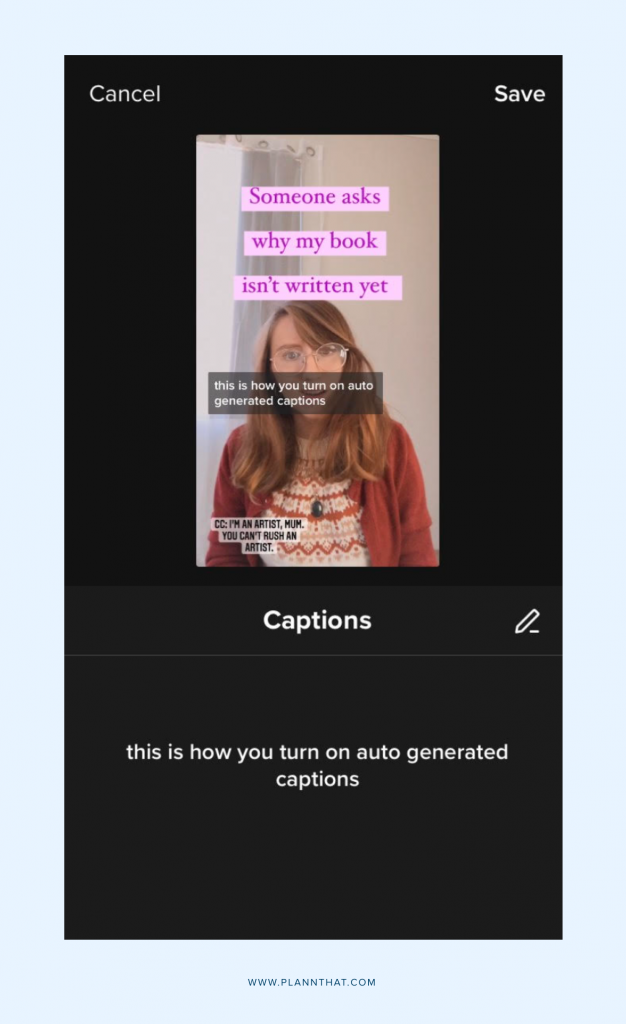
TikTok’s auto-generated captions are designed to save you time by converting voiceover or spoken audio to closed captions, improving video accessibility and driving engagement.
Enabling auto-captions is simple. Once you’ve recorded or uploaded your video, choose captions from the right-side column on the edit screen. Wait for your video’s audio to be processed, and your captions will appear!
You can use the pencil icon to review your captions and edit any errors before clicking save at the top-right of your screen to apply changes.
Adding on-screen text & text-to-speech
Wondering how to do text-to-speech on TikTok? These are great features for video creation!
Adding text to your video on TikTok is easy. When you’ve uploaded your content and reached the editing screen, just select text from the right-side menu, and start typing! You’ll also be able to choose from a variety of fonts and colors.
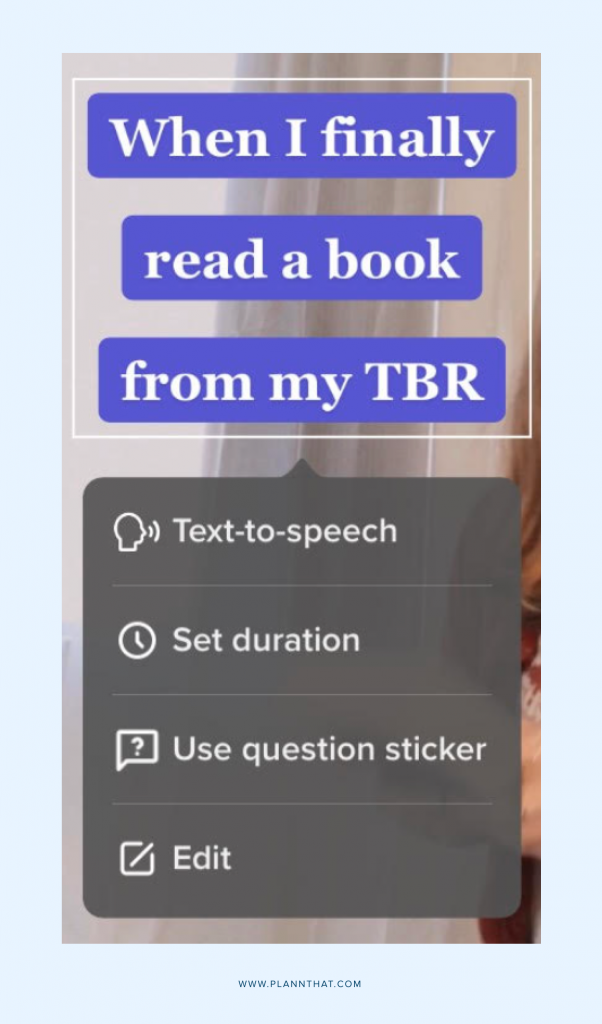
Using text-to-speech is a popular choice for many TikTok creators. This feature allows you to access narration tools that improve the accessibility and engagement of your content, as the app reads your written text aloud to viewers.
To enable text-to-speech on TikTok, simply tap on the entered text you’ve already added to your video. This will trigger a short menu, where you can select text-to-speech. Easy!
Recording a voiceover
Another option for TikTok content is voiceover. You can use this feature to speak over your video content, narrating your footage for audiences.
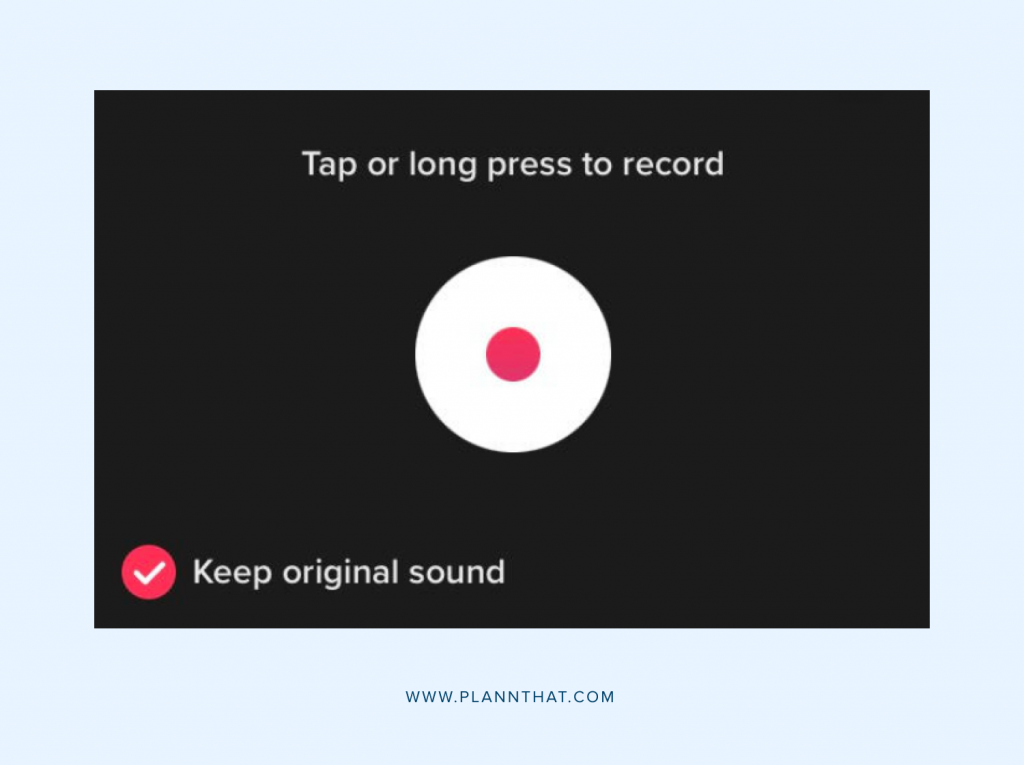
To record a voiceover on TikTok, navigate to the edit screen. Here, you’ll need to choose voiceover from the right-side menu.
You can choose to keep or ditch your video’s original sound using a checkbox in the bottom-left corner of your screen. Then use the cropping tool to section off your video, and press the white and red button to record voiceover content. Don’t forget to save your work!
Adding sounds and audio features
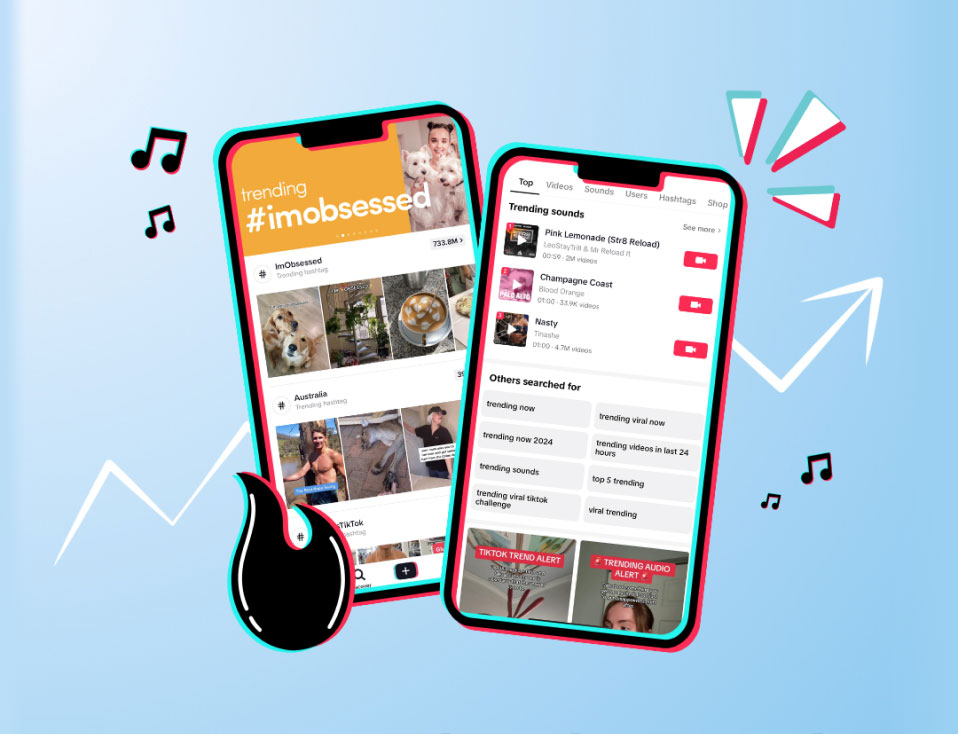
Trending sounds and audio features are staples on TikTok! Fortunately, they’re also easy to use.
You have a few options when it comes to adding TikTok audio.
The first is to select your sound ahead of time and start filming with audio already in place. This is a good option, as it makes it easy to ensure your video lines up well with applied audio. The second option film your video, then use the add sound button at the top of your edit screen to add audio content.

Unsure of how to edit sound length on TikTok? The app allows you to film videos up to You can edit sound length and timing easily using the cropping tool. Simply pull up the sound menu, and choose the scissors icon beside your chosen audio track. This will bring up a soundwave, where you can drag content to crop and adjust.
Adding filters to footage
On TikTok, the easiest way to add filters and effects is by applying them before you start filming.
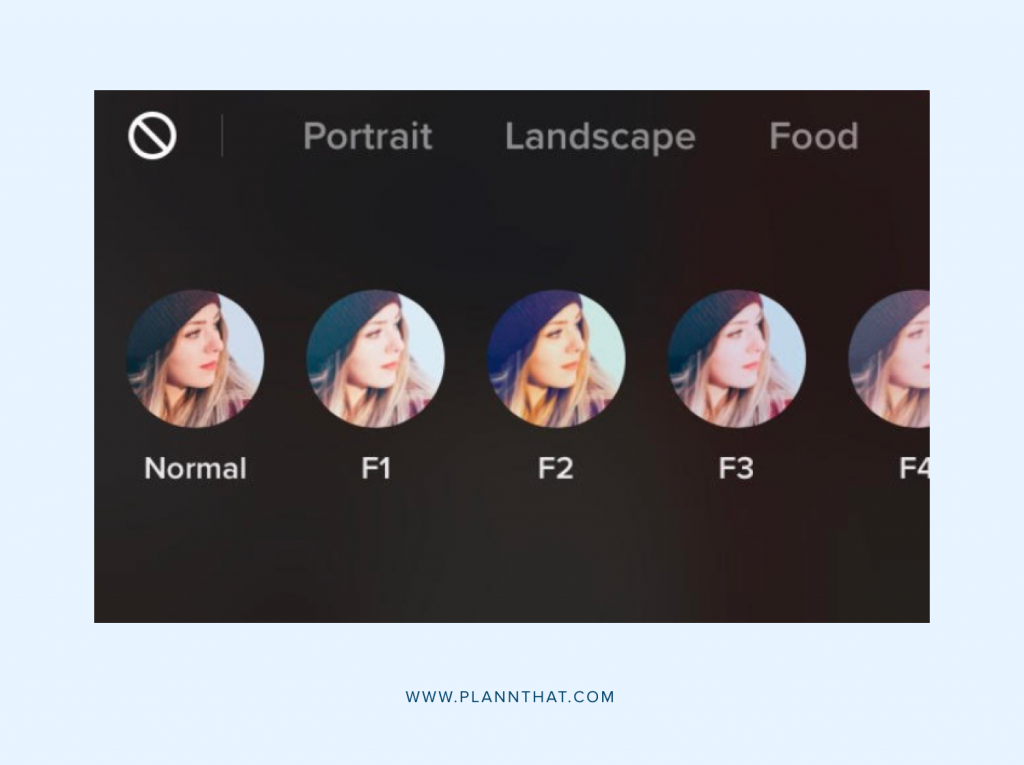
By tapping the effects button at the bottom-left of the record screen, you can access a range of fun filters and visual effects. Here, you’ll find filters that apply makeup, alter backgrounds, adjust lighting, integrate screen splits, and even add VR effects.
If you forget to apply a filter before filming or uploading TikTok content, don’t worry! You can still access post-production filters by selecting filters from the right-side menu. Most of these filters are focused on lighting and color tones.
Trimming and syncing video clips
Last but not least, trimming and syncing video clips are essential skills in the world of TikTok content creation!
When you film or upload video footage to TikTok, you’ll automatically be directed to a cropping and trimming screen. Here, your video clip will play on loop while displaying a length selection at the bottom of the screen.

To alter the length or cut of your video, all you need to do is adjust the parameters of this bar. Everything contained within the red box will remain a part of your final video project, while any footage on the outskirts will be removed from your completed video.
Plann’ing for TikTok
Ready to put your newfound TikTok video editing knowledge into action? It’s time to start Plann’ing your video content!
Sign up for a free 7-day trial of Plann today, and you can take the first step toward TikTok success!

