Ready to skyrocket your Instagram marketing results? Well then, let’s get you set up with a brand new Plann Desktop account so that you can get on your way!
There are a few things you’ll need to do before registering for a new account, so let’s go through it together to make sure you can jump straight in.
Keep on reading for the full breakdown of what you’ll need to use Plann on desktop.
What You’ll Need Before You Set Up a Plann Desktop Account
STEP 1: Admin Access to a Facebook Business Page
If you are planning on setting up Plann as an Instagram Scheduling tool for a client, you’ll need to make sure that you have Admin-level access to their Facebook Business page before you try to register for a new account.
The client can add you as an Admin as long as you are both friends on Facebook, easy enough right?
STEP 2: Instagram Business Profile Linked to a Facebook Business Page
The next thing you’ll need (and this is crucial!) is an Instagram Business profile.
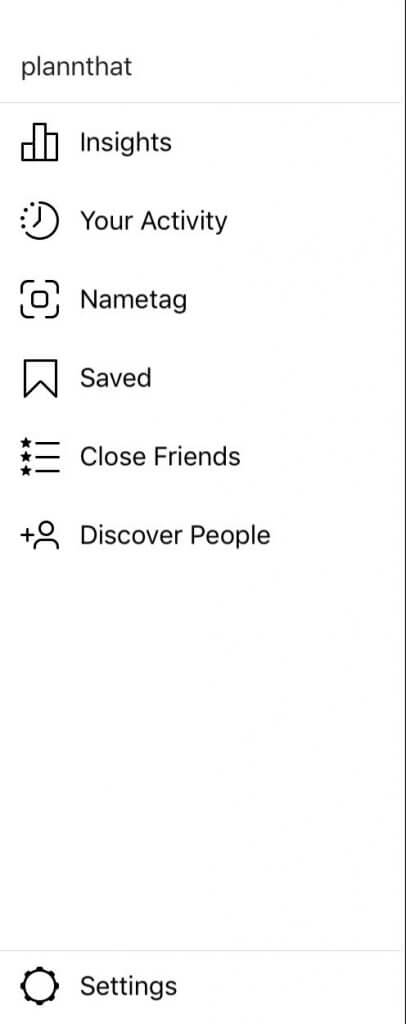
To create one, login to the existing Instagram account/handle that you’d like to schedule content for using Plann. Then click on the icon in the top right-hand corner to open up a sidebar.

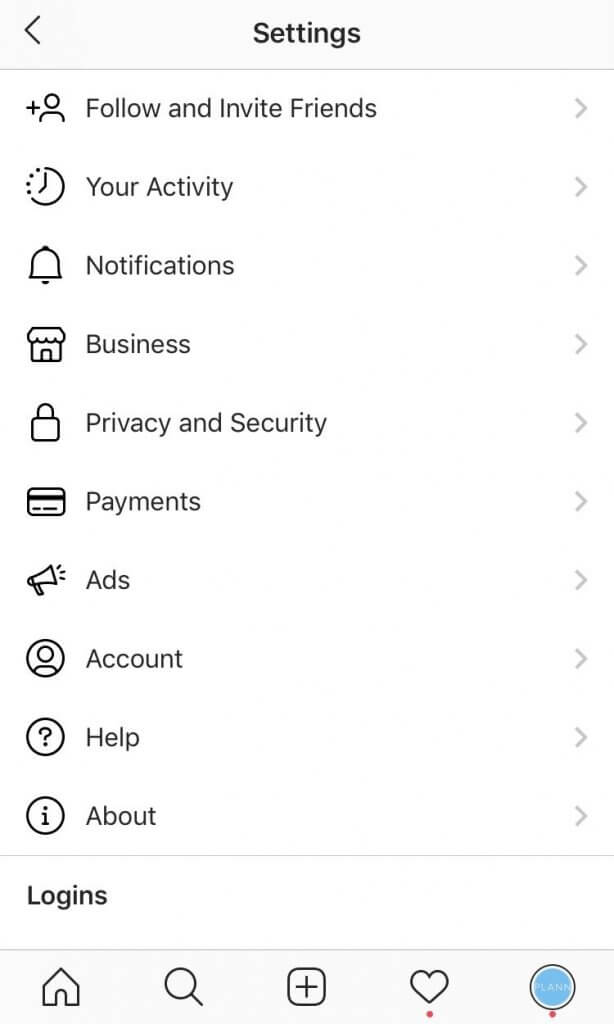
At the bottom of the sidebar there is a gear icon next to the word ‘Settings’ – click here!
Once you’re there, go to ‘Account’ and scroll down to the very bottom. Underneath ‘Posts You’ve Liked’ you should see an option to switch to an Instagram Business profile. Click that!
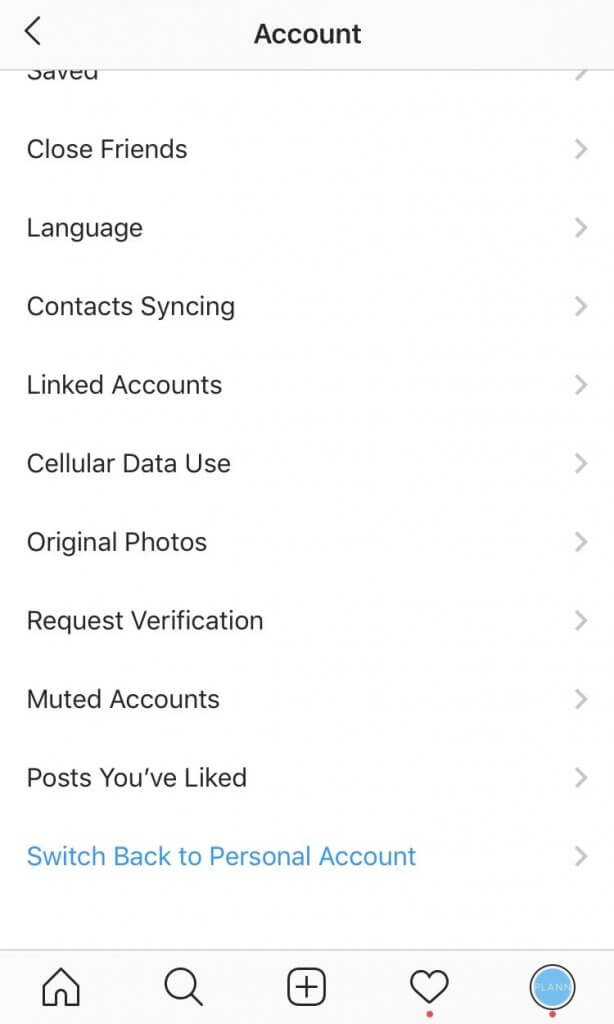
You should be able to login to Facebook from here and link your Instagram account directly to the Facebook Business page you have admin access for.
Once everything is done and dusted, you’re ready for the next step!
STEP 3: Facebook Business Page Linked to Facebook Business Manager
Now that you’ve set up a Facebook business page and linked it to an Instagram business profile, it’s time to set up Facebook Business Manager. It’s completely free to do and it will give you advanced insights into Facebook and Instagram advertisements if you choose to run them.
To get started, jump onto your desktop/laptop and go to this website: https://business.facebook.com/settings/
From there, click on ‘Pages’ in the sidebar.
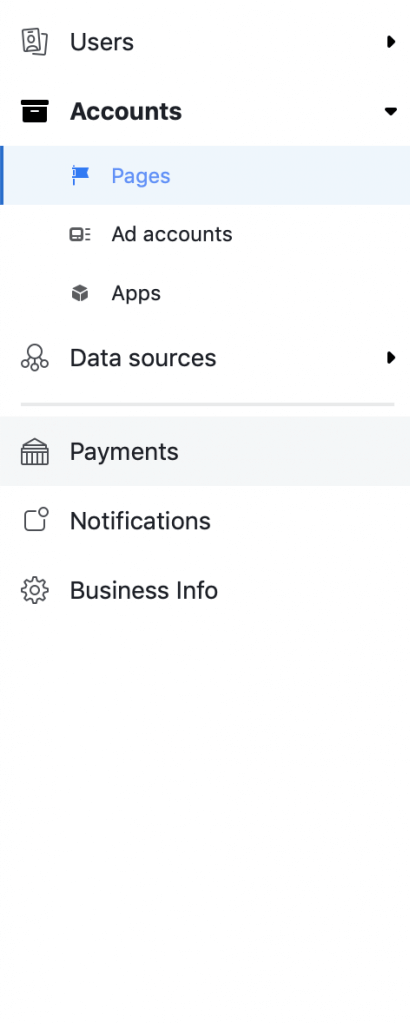
You should see a blue button that says ‘+Add’ , click on that and select ‘Add a Page’
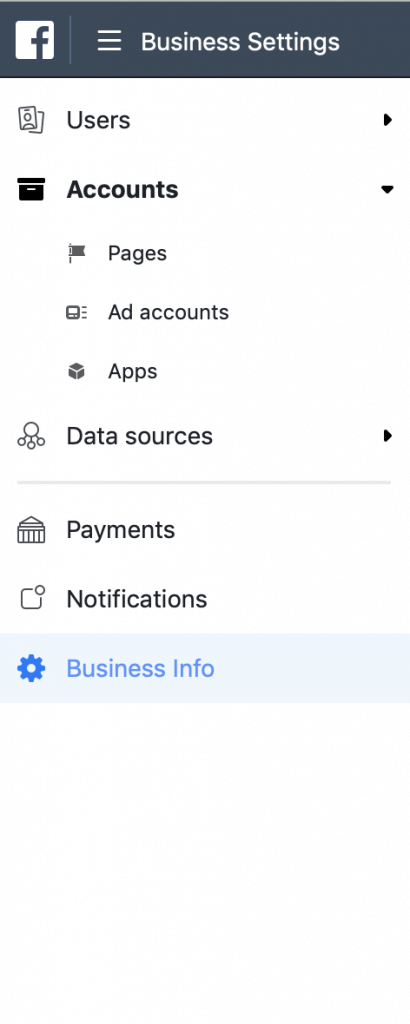
Enter the Facebook Business Page name or URL here
Once everything is completed, you are set up and ready to rumble! Woohoo!
For more help with Facebook Business Manager setup, click here.
STEP 4: The Plann App (iOS)
This part is easy, don’t worry!
Jump on over to the App Store and search for ‘Plann’ -> once you see the blue icon, you know you’re in the right place.
Download the latest version of the Plann app and sign in with Facebook.
Now you’re ready for Plann Desktop, huzzah!
How to Set Up a Plann Desktop Account
- STEP 1: Register Page
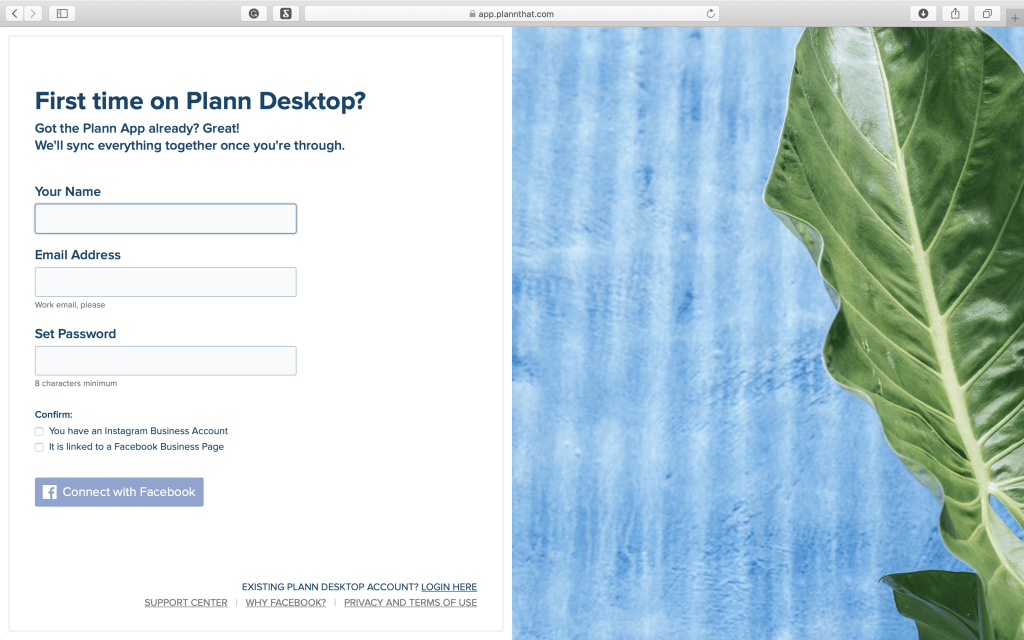 Now that you’ve whipped through and made sure you have everything you need, you’re ready to register for a Plann Desktop account.
Here’s where you enter in your details like your name, your best email address, and confirm that you’ve got an Instagram business profile and Facebook business page.
- STEP 2: Link You Facebook Business Page
 Here’s where you link together your Facebook account with your Plann account, huzzah!

Make sure that you’re logged into the right Facebook account so that you can get access to the Facebook business pages you need.
- STEP 3: Start Plann’ing
All sorted? Now you’re in!
Your free trial has started and now you can play around with all of the new snazzy jazzy Plann Desktop features.
A few that I love are:
- Calendar view
- Upload content from stock image libraries
- Respond to Instagram comments
Give them a try and see what you think!
Happy Plann’ing

